Gelli Printing is very versatile and fun to do! Start with any piece of paper. You could choose blank paper, previously gel printed paper, old book pages, or try a piece of printed scrapbook paper. Using different types of papers to print with will create a large variety in your prints.
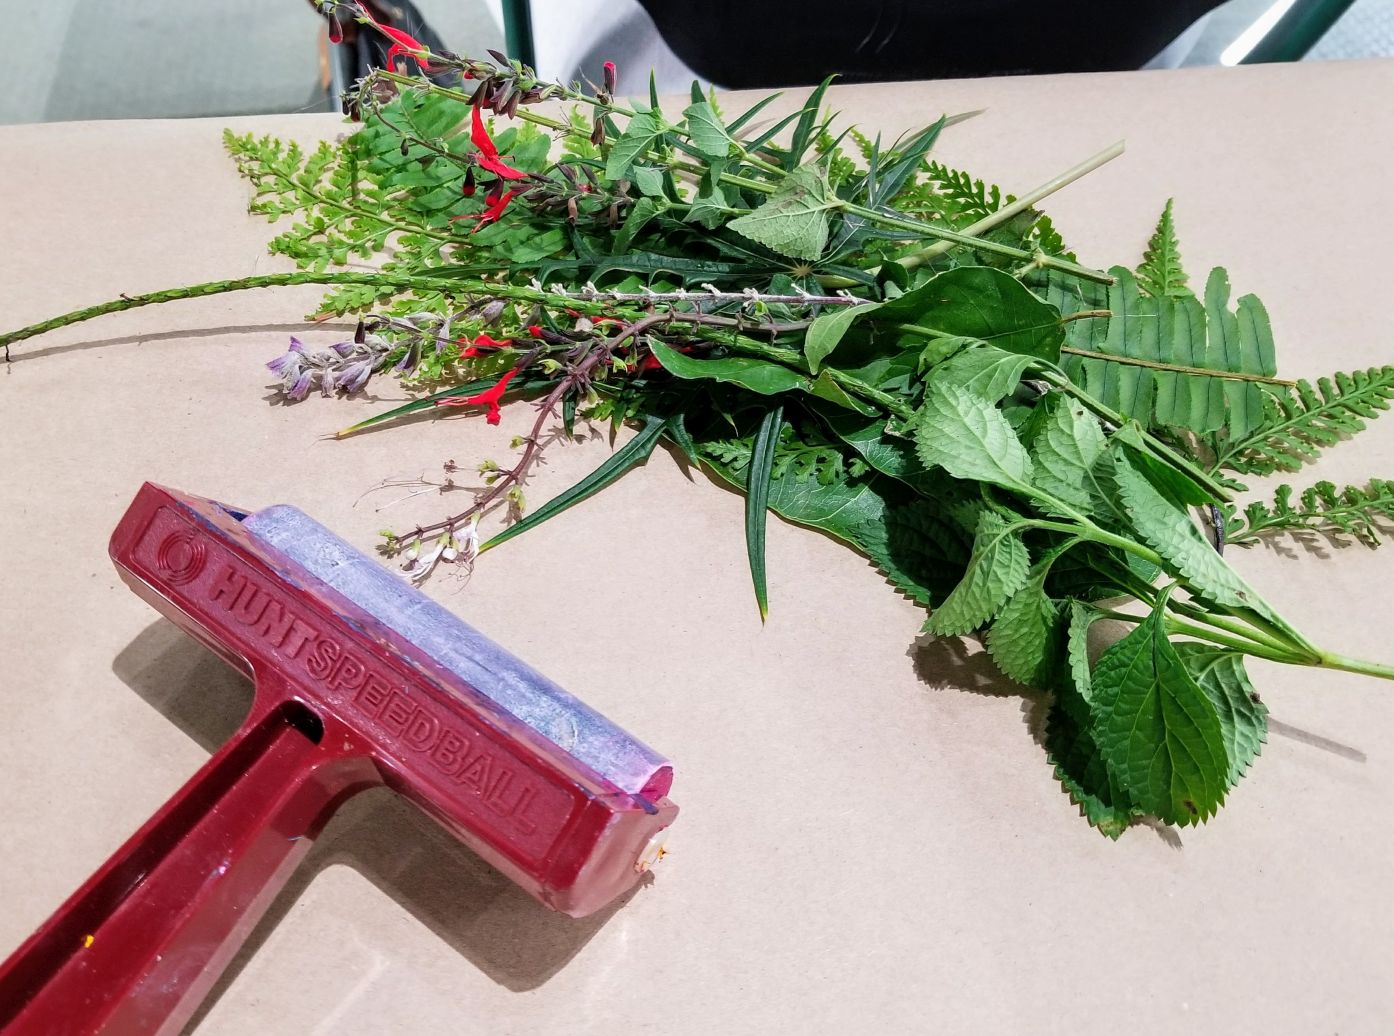
Next, brayer a small amount of paint onto the gelli plate in one or more colors. Place stencils, flat objects or nature items on top of the painted gel plate. You can make marks in the paint using a fork, comb, pencil or any found object. Lay your paper over the gel plate & rub the paper gently. Pull the paper slowly off the plate and admire your print! Using nature items like leaves, flowers and grasses with a Gelli plate is my favorite way to gelli print. Below is a video with examples of prints I made in a class.
The prints below were created in a class at Marie Selby Botanical Gardens. The Gelli Plates can be purchased at Gelli Arts.com. Find a large collection of how-to videos on YouTube. Click any photo for full size and scroll through all the photos easily by swiping or using the side arrows.
View some of these gel prints included in a small scrap journal:
Another Gelli Print Journal
Find a bit more info about making this journal, here!


